
Real-time Event Search: Camera Recognition, Photo Capture, and Result Review
For events, reception, or portrait checking, choose a USB camera, configure search scope and frequency, review live results, capture photos, and verify hit records.

For events, reception, or portrait checking, choose a USB camera, configure search scope and frequency, review live results, capture photos, and verify hit records.
Live camera search helps compare people in front of a camera with an indexed face library.
1. Confirm the Library Has Face Data
Add the event or portrait folders with face parsing enabled and wait for background tasks to finish. Camera search compares visible faces with your current library; it does not identify people without reference data. Check database face counts or try a face search first.
2. Choose the USB Camera
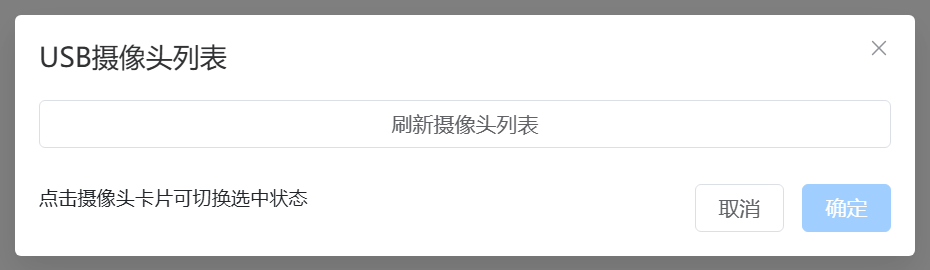
On the camera page, choose Video Source → USB Camera → Refresh Camera List, select the camera, and confirm. If the list is empty, check the USB connection and whether a meeting app, browser, or system camera app is using it.
3. Configure Scope and Frequency
Open Settings at the top of the camera page to set resolution, face similarity threshold and search frequency. The camera folder filter does not correctly restrict searches in 3.13.31. If results must be limited to the event, switch to a separate database containing only its material before opening the camera page.
Frequency accepts 1–10. A larger times/second value means more frequent searches; a larger seconds/time value means a longer interval. Higher resolution and frequency increase load. After changes, confirm the USB camera selection again to apply them to a new connection.

4. Review Live Results
Watch the live frame, face boxes, and matched images. Confirm matches manually before acting on them.
The Search Results panel shows search records, maximum similarity, candidate count, and search time. Face-box percentages are detection scores, not library-match similarity. Candidate counts may sum hits from multiple detected faces and are not unique-person counts. A high similarity is a retrieval clue, not proof of identity.

5. Capture Photos When Records Are Needed
Open Settings → Photo Settings and choose a writable photo folder. Close settings, confirm that the live image is visible, then click Take Photo at the top. Check the saved image in that folder.


Capture saves the current frame as JPG. Successfully saved photos with detected faces are processed for face-library import in the background; photos with no detected face do not follow that path. The success prompt does not prove that every camera saved a file or that indexing finished. Check the destination files and library status. Add or refresh the folder with the relevant parsing options if other search capabilities are needed.
6. On-site Usage Suggestions
Use stable lighting, reduce motion, and position the camera so faces are clear. Use a dedicated event database when results must stay within the event.
Common Cases
- No face detected: improve lighting or camera angle.
- Too many or incorrect candidates: use a dedicated database, raise the similarity threshold, and review manually.
- Processing is overloaded: lower resolution, increase the interval, or use a smaller dedicated database. A longer interval reduces load by running fewer searches.
- Photo capture fails: check the save folder and its write permission.