
First Use: From Empty Library to First Image Search
A complete first-use workflow: enter the workspace, handle database and spreadsheet prompts, add a material folder, watch indexing progress, confirm database statistics, and run your first similar-image search.

A complete first-use workflow: enter the workspace, handle database and spreadsheet prompts, add a material folder, watch indexing progress, confirm database statistics, and run your first similar-image search.
This guide walks through a practical first run. Start small: choose a folder with a manageable number of images, index it, and run one reverse image search.
1. Enter the Search Workspace
Open the desktop client and click "Go Search". Wait for the local service to connect. The first launch may take a little longer because the app is preparing the local environment.

2. Handle First-time Prompts
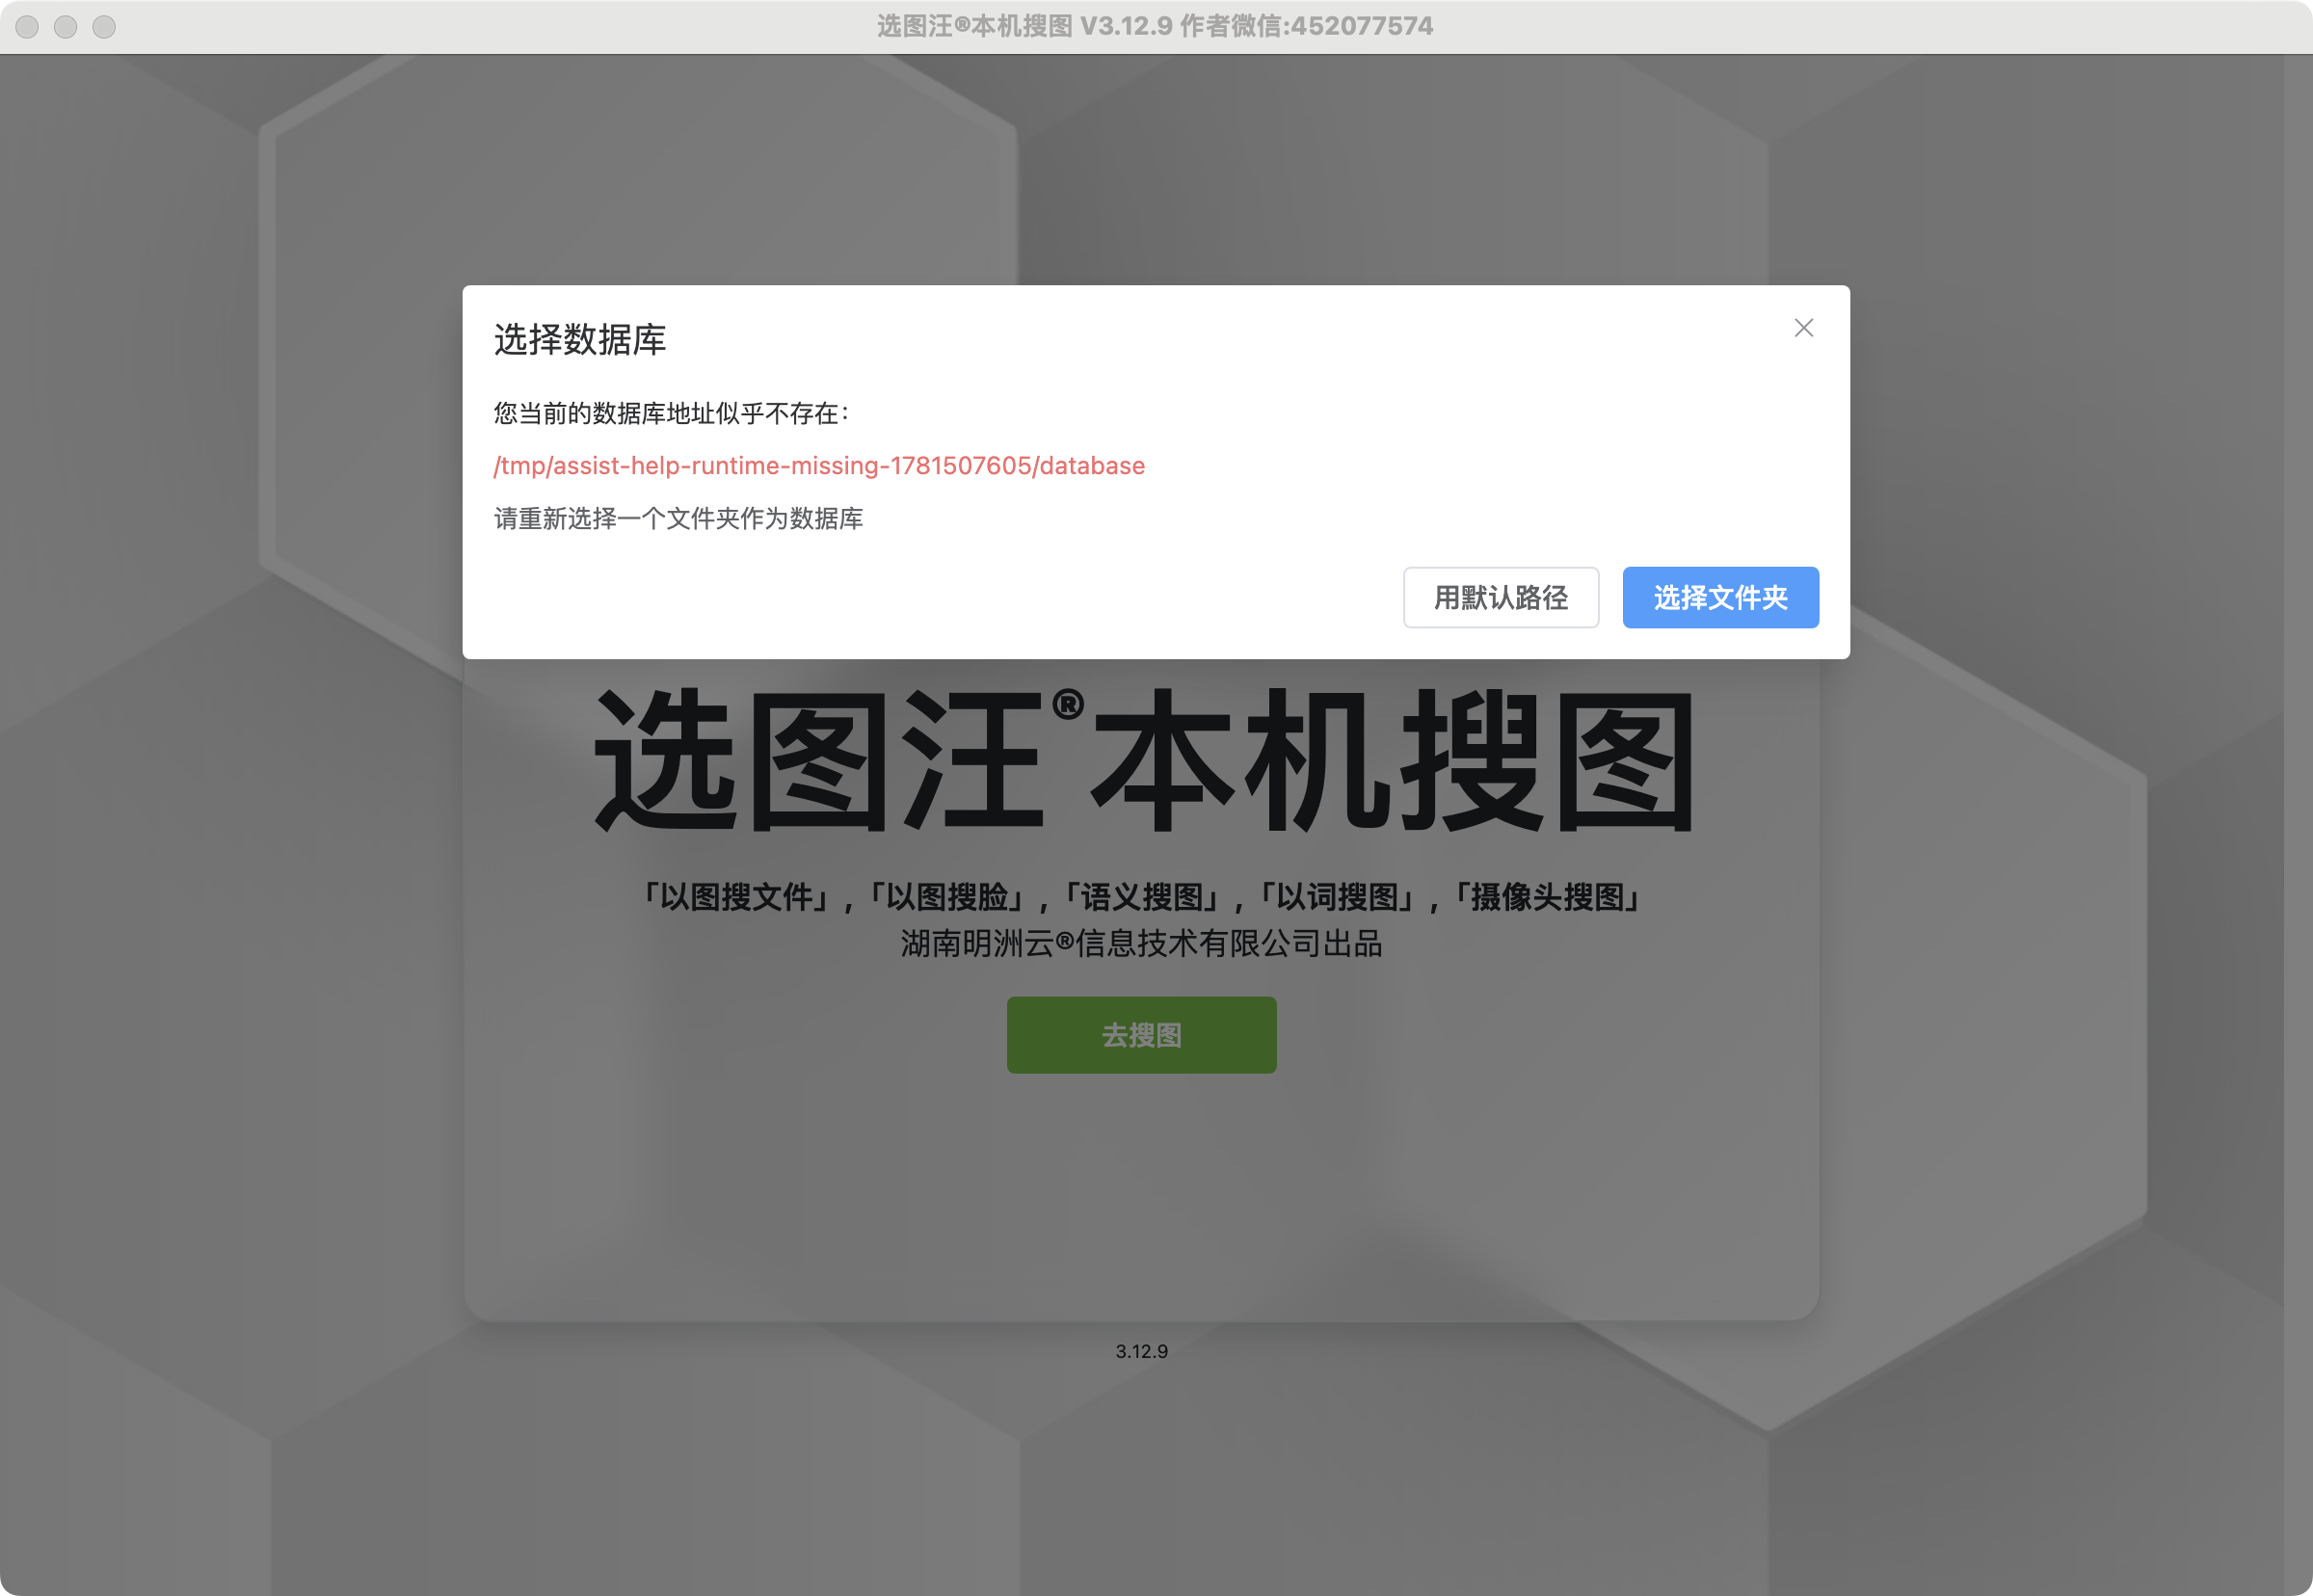
If the database location prompt appears, choose a stable folder with enough disk space. If the spreadsheet parsing reminder appears, decide whether you need Excel image extraction now. You can skip Excel parsing if you only want to test normal images.
The startup chooser selects a parent folder and uses its database child; Load Existing Database selects the folder directly containing database.db. The database location stores the app's library data; it is not the source-image folder. If an existing location is missing, check its disk or connection before choosing a new location. Add material folders through the workspace after this step.

3. Understand the Workspace
The collapsible left panel has File, People, and Results tabs. File contains folders and collections, Results contains search history, and People appears when face data exists. The middle area shows thumbnails. The collapsible right panel shows details for the selected item. The top toolbar includes image, semantic, pose, and face search plus more tools. Face filtering appears when corresponding face data exists, and Duplicates appears when duplicate hashes are enabled.
4. Add the First Material Folder
Use the add-folder entry, choose a folder from your computer, and select the basic image search strategy. For a first test, global image search is usually enough.
In Files, select the plus beside Folders. Choose the material directory, decide whether to include subfolders, enable Image Search and select Global, then click Start Adding. Adding a folder registers and parses its material; it does not move all the source files into the database directory.

5. Watch Indexing Progress
The task progress area shows how indexing is going. Wait until the task finishes before judging whether search works.
Open the task indicator for details. Use cancellation only when that task provides it. Partial thumbnails can appear before all required search data is ready.
6. Confirm Indexing Succeeded
Open database statistics or select the folder in the left tree. Check task errors, required strategy data, and actual source files as well as thumbnails. File, image, and feature counts use different units and need not match; missing or failed statistics are not zero.
In Files → Database, use Details beside the image count and check Basic Information as well as each image-search strategy. Visible thumbnails alone do not prove the chosen strategy was parsed. A missing statistic is not automatically zero; check task completion and any error first.
7. Browse the Indexed Material
Click the folder and browse thumbnails. Adjust thumbnail size if you need more detail or a denser overview.
Use Show Subfolder Data to include or exclude child folders. The filter toolbar supports text and sorting; start with filename, path or notes and a useful sort order. Double-click a thumbnail or select it and press Space to open a larger preview. A cached preview can remain available even when the original file is offline, so check source access before export.
8. Run the First Reverse Image Search
Open image search, upload or paste a reference image, choose the global strategy, set a reasonable result count, and start searching.
Select the whole database for your first trial. Use the similar-search action on an existing library image if you do not have an external reference. Open a few candidates and compare their content, dimensions and path.

9. What to Do After Results Appear
Preview candidate images, add useful ones to a collection, or export selected results for delivery.
Common Cases
- If the folder is empty, confirm the source folder contains supported files.
- If search is unavailable, check whether image search data was generated.
- If results are noisy, crop the reference image or search within a smaller folder.
Example Search
The forest reference is searched with Global across a sample library of four landscape photos and identical backups. Eight images return, with the original and its backup first at 100%. These scores describe this example, not a guarantee for other searches.